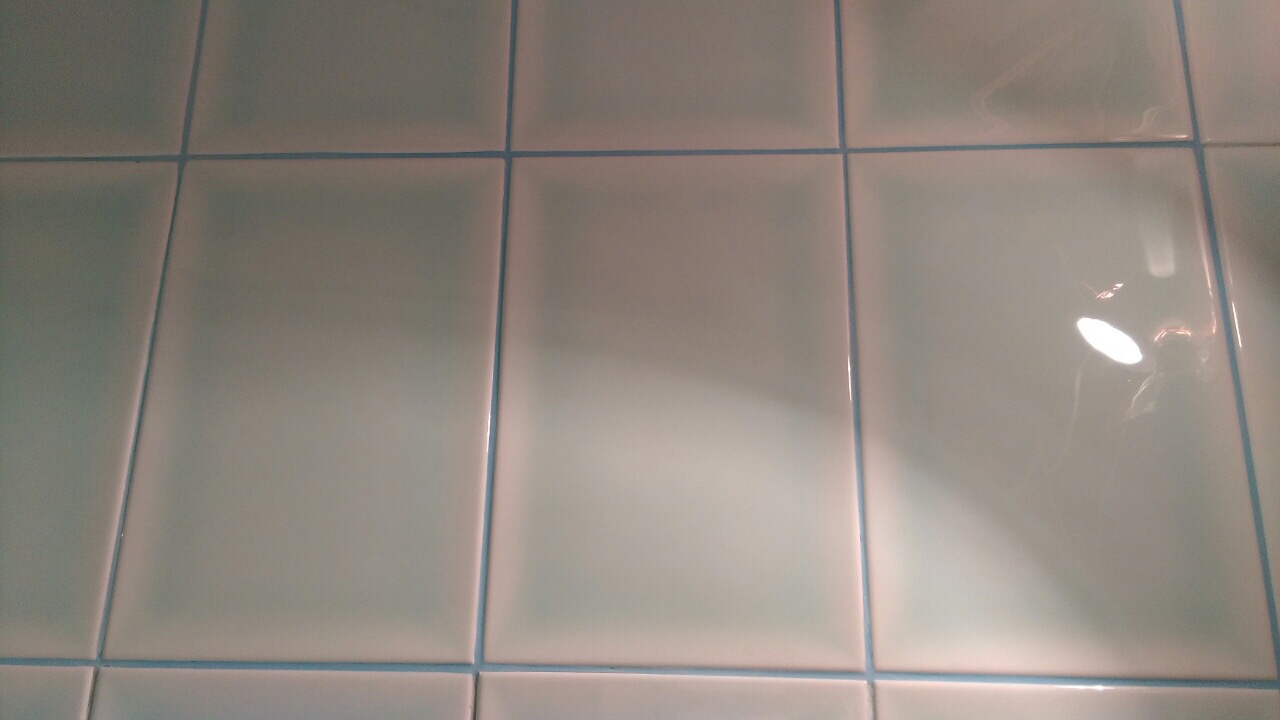
Grout that looks clean after scrubbing can start turning gray again within weeks. A penetrating grout sealer helps slow down how quickly dirt, grease, and moisture soak in, so the joints stay cleaner longer and require less deep cleaning.
Here Is The Simple Fix
Choose the grout sealer based on the size of your project:
- For a shower, backsplash, or other small tiled area, choose FILA Grout Proof. It is a practical option when you only need to seal a limited number of grout lines.
- For large tile floors or rental properties, choose AQUA-X Grout Sealer. It is available in larger sizes and works well for projects with extensive grout lines or several tiled areas.
- For a small repair, backsplash, or limited section of grout, choose Miracle Sealants Grout Sealer. The compact bottle and narrow applicator tip make it easier to apply the sealer directly to individual grout lines without spraying the surrounding tile.
In this article, you’ll learn how to determine whether your grout needs sealing, choose the right product, and apply it correctly.
Before You Seal Grout, Check Its Condition

Grout sealer should only be applied to grout that is clean, dry, and in good condition. What you need to do before sealing depends on whether the grout is new or has already been in use.
For Newly Installed Grout
Skip the deep cleaning steps below. Remove any grout haze left on the tile, then allow the grout to cure for the full time required by both the grout and sealer manufacturers. Do not rely on a general waiting period, since curing requirements vary by product.
For Light Dirt and Soap Residue
Use a pH neutral tile and grout cleaner, such as Black Diamond Marble & Tile Floor Cleaner. Clean the joints according to the label, then rinse thoroughly so no cleaner remains in the grout.
For Grease, Dark Stains, or Heavily Soiled Grout
A bleach based grout cleaner, such as Clorox Bleach Foamer & Grout Cleaner, may help remove remaining dark stains from white grout. Check that the product is safe for the surrounding tile, and do not use it on colored grout unless the grout manufacturer specifically allows it.
For Large Floors or Stubborn Buildup
Use a steam cleaner such as the McCulloch MC1385 Deluxe Canister Steam Cleaner. The detail nozzle and nylon brush attachments make it easier to work along grout lines, especially across large tiled floors. For greasy kitchen grout, use Black Diamond Ultimate Grout Cleaner first or after steaming, since steam alone may not remove all of the oil.
For Mold or Mildew
Remove it before sealing. Sealer will not kill mold or stop it from returning when the grout stays damp. Follow our guide to removing mold from grout before continuing.
For Stubborn Stains on White Grout
A chlorine bleach product such as Clorox Disinfecting Bleach can be used occasionally on white cement based grout, as long as the tile manufacturer allows it. Do not use bleach as your regular cleaner, and avoid it on colored grout because it may fade the color.
Let the Grout Dry
After cleaning, rinse away all cleaner residue and allow the grout to dry completely. Wait at least 24 hours after routine cleaning and closer to 48 hours if the grout was heavily saturated or is located in a shower or humid room.
For newly installed grout, follow the curing time printed on the grout and sealer labels. Product requirements vary and may be longer than the drying times used for previously installed grout.
How to Apply FILA Grout Proof
FILA Grout Proof is ready to use. Do not dilute it.
- Spray the sealer directly onto a manageable section of grout.
- Spread it evenly along the joint with a small brush. Wet the grout without allowing the product to pool on the tile.
- Immediately wipe the surrounding tile with a clean, dry cloth. Do not let excess sealer or overspray dry on the surface.
- Continue working section by section. On shower walls and backsplashes, wipe away drips as soon as they appear.
- Keep foot traffic off treated floors for four hours.
- Allow eight hours for the sealer to cure and reach maximum protection. Before using a shower or exposing the grout to water, check the bottle for any additional restrictions.
The manufacturer’s current instructions do not call for a second coat.
The spray nozzle may cover more than the grout line, especially on narrow joints. For better control, some users spray a small amount into a disposable cup and apply it with a narrow brush. This is a user recommended method rather than the application method listed by FILA.
How to Apply AQUA-X Grout Sealer
AQUA-X Grout Sealer is ready to use. Mix it well before starting, but do not dilute it.
The manufacturer recommends applying two wet on wet coats. This means the second coat goes on while the first is still wet, rather than after it has dried.
- Test the product on a small, inconspicuous section first. Check that it absorbs into the grout without changing the color or leaving a film on the surrounding tile.
- Apply an even coat directly to the grout. Wet the joint without flooding it or allowing the sealer to form puddles.
- Apply the second coat while the first coat is still wet. Do not wait for the grout to dry between coats.
- Wipe overspray, drips, and excess product off the tile immediately with a clean microfiber cloth. AQUA-X should not be allowed to dry on glazed tile or other nonporous surfaces because it may leave a sticky residue.
- Continue working in sections small enough to complete both coats and clean the surrounding tile before the sealer begins to dry.
- Keep the treated area out of use for at least two hours. Allow 24 hours for the sealer to fully cure.
The spray bottle is convenient for floors with many grout lines, but the product is quite fluid and can spread beyond the joint. On narrow grout lines, backsplashes, and shower walls, applying it with a small brush or foam brush gives you more control and reduces waste. This is a practical tip from users rather than the manufacturer’s stated application method.
Do not apply extra coats simply because the grout still becomes slightly darker when wet. A penetrating sealer reduces absorption and staining, but it does not make cement grout completely waterproof.
How to Apply Miracle Sealants GRT SLR Grout Sealer
Miracle Sealants GRT SLR Grout Sealer comes in a small 6 oz squeeze bottle with a built in applicator. It works best for backsplashes, shower walls, small bathroom floors, and short sections of grout where you want to apply sealer directly to the joint.
Before starting, check the label on your bottle for the required drying time, number of coats, and cure time. Older Miracle Sealants instructions state that the sealer may be dry to the touch in 1 to 3 hours, but the treated area should stay dry and protected from staining materials for up to 72 hours for best results.
The applicator is useful for small jobs, but the sealer is thin and can come out quickly. Start with very light pressure.
- Place the applicator tip directly on the grout line.
- Move along the joint slowly, applying enough sealer to wet the grout without flooding the tile.
- Work in short sections so you can control the flow.
- Wipe excess sealer off the tile immediately with a clean, absorbent cloth. Do not let it dry on the tile surface.
- Check the applicator as you work. If product starts leaking around the tip or running down the bottle, wipe it clean before continuing.
- Apply another coat only if the label calls for one.
- Keep the area dry and out of use for the full cure time listed on the bottle.
Many users like this product for small grout jobs because it avoids spraying sealer across the surrounding tile. The main complaint is that the bottle can release too much product if squeezed too hard, so slow, controlled application matters more than speed.
When Grout Sealer Is Not Enough
Grout sealer helps slow down moisture and stain absorption, but it will not fix every grout problem.
- If the grout stays dark after deep cleaning, sealer may help protect it from new stains, but it will not bring back the original color. For solid grout that is permanently discolored, a grout colorant may be a better option.
- Do not apply grout sealer to silicone caulk around tubs, shower pans, corners, or countertop edges. If the caulk is stained, cracked, peeling, or moldy, remove it and replace it with fresh bathroom or kitchen caulk.
- Grout sealer also does not make a shower waterproof. Tile and grout are not the waterproofing system. The waterproofing should already be behind the tile.
- If grout is cracked, loose, crumbling, or missing, repair or replace it before sealing.
Final Tips for Keeping Grout Protected
A grout sealer makes grout easier to maintain, but it does not make it maintenance free. After the sealer has cured, keep cleaning simple: use a pH neutral tile and grout cleaner for regular cleaning, wipe up grease and soap residue when you can, and avoid using bleach as your everyday cleaner.
If you need to scrub the grout, use a nylon grout brush instead of a wire brush or abrasive pad. Harsh scrubbing can wear down the grout surface and shorten the life of the sealer.
To check whether the sealer is still working, place a few drops of water on the grout. If the water stays on the surface or absorbs slowly, the sealer is still helping. If the grout darkens quickly and absorbs the water, clean the area and reseal it.
There is no single resealing schedule that works for every home. Showers, kitchen backsplashes, entry floors, and rental properties usually need resealing sooner than lightly used tile. Let the water test and the condition of the grout tell you when it is time to apply another coat.